Skip to product information
1 of 7

8-Panel Screen Hanger Kit

8-Panel Screen Hanger Kit

Regular price $144 USD
Regular price $78 USD Sale price $144 USD
Sale Sold out
Shipping calculated at checkout.
Material & Color
Size

Made of high-density Lucite, these unobtrusive hangers provide a safe and tasteful way to hang folding screens. They have been specifically designed for hanging traditional Japanese folding screens (byobu) on drywall.  Used by museums, art gallery & installers, and collectors for over 20 years.

 Made in Hawaii (USA) for quality assurance.

Advice on Color

For a standard screen with a black lacquer edge, we recommend using black clips. If your lacquer edging is a natural wood, orange, red, or other color, we recommend the clear clips.

Advice on Size

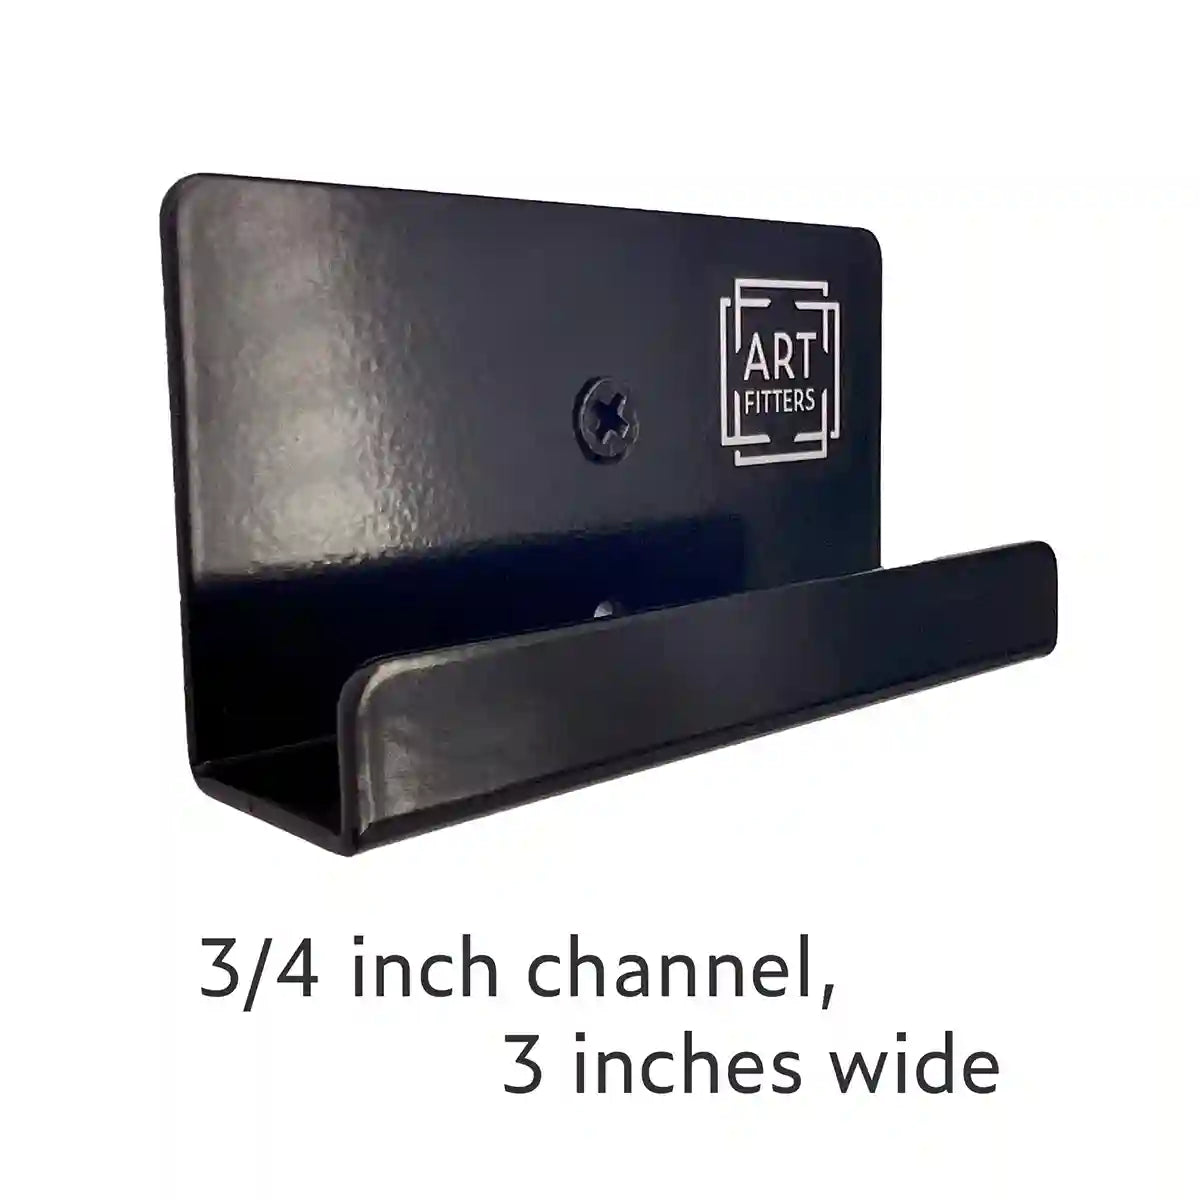
The channel of each clip measures 3/4". This accommodates most
traditional Japanese screens with lacquer edging. If your screen is
thinner than this, a piece of acid-free matboard or paper can be used to line the back of the channel so that it sits snugly in place.

If your screen is heavy, especially tall, or has damage, we recommend our wide or large clips.

Advice on Color

For a standard screen with a black lacquer edge, we recommend using black clips. If your lacquer edging is a natural wood, orange, red, or other color, we recommend the clear clips.

Installation Instructions

Installing your 4-panel Japanese screen (byobu) with screen clips:

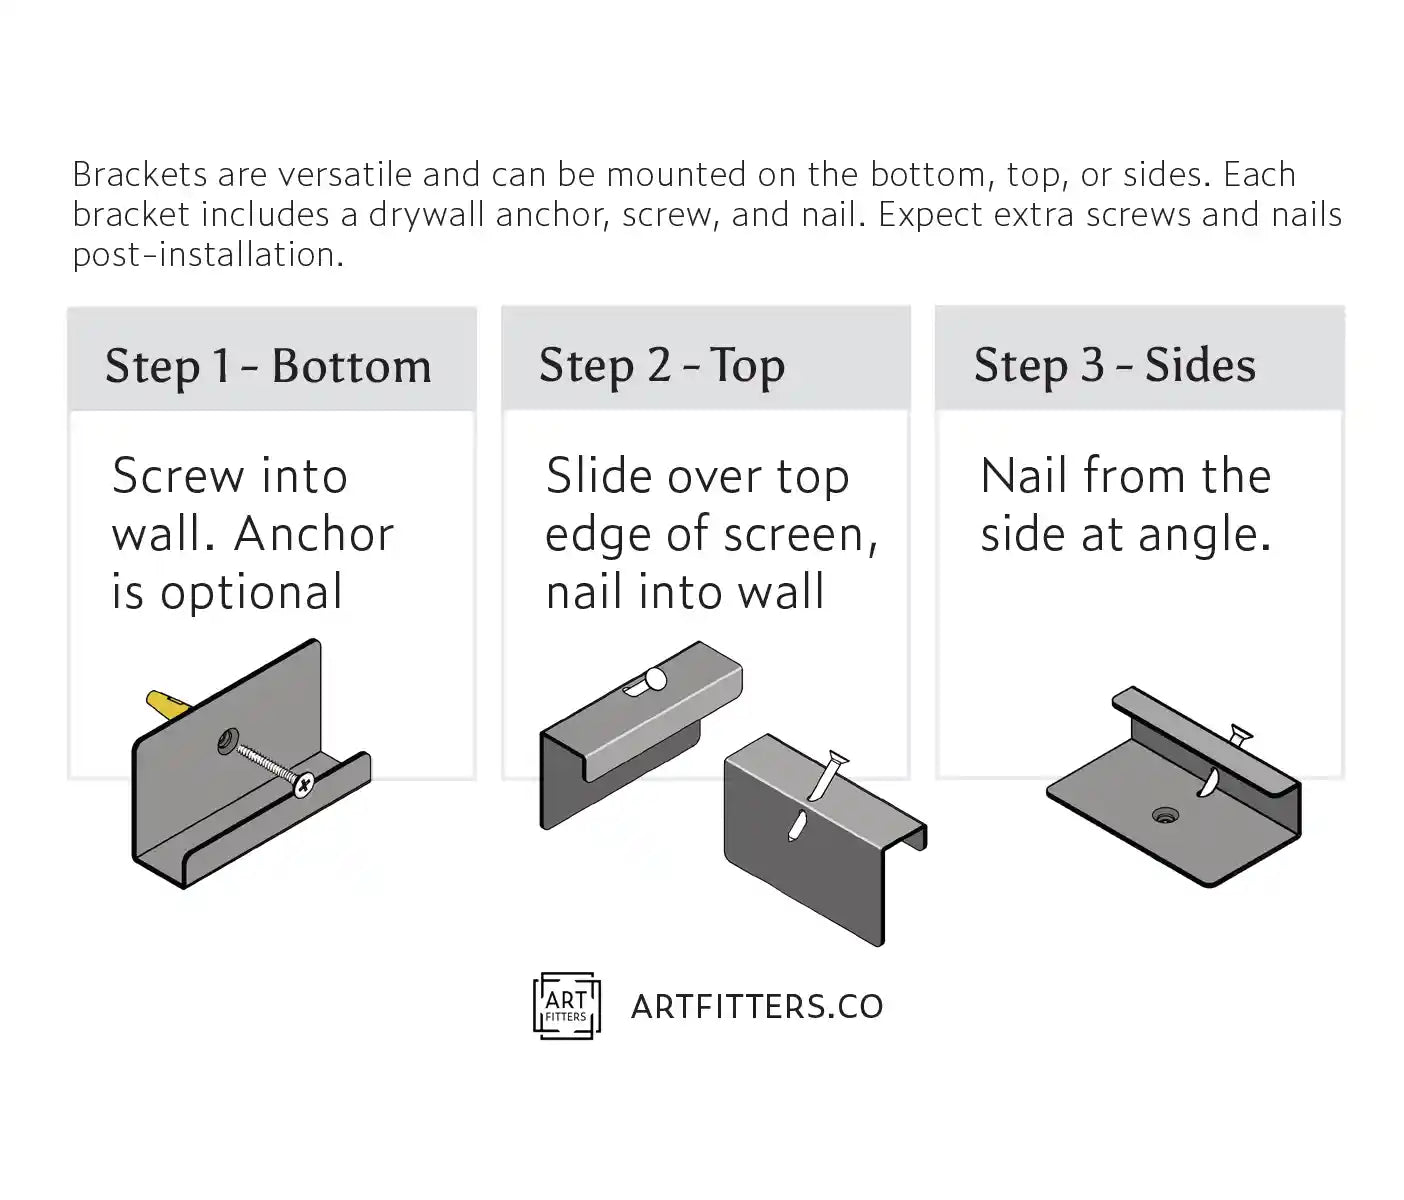
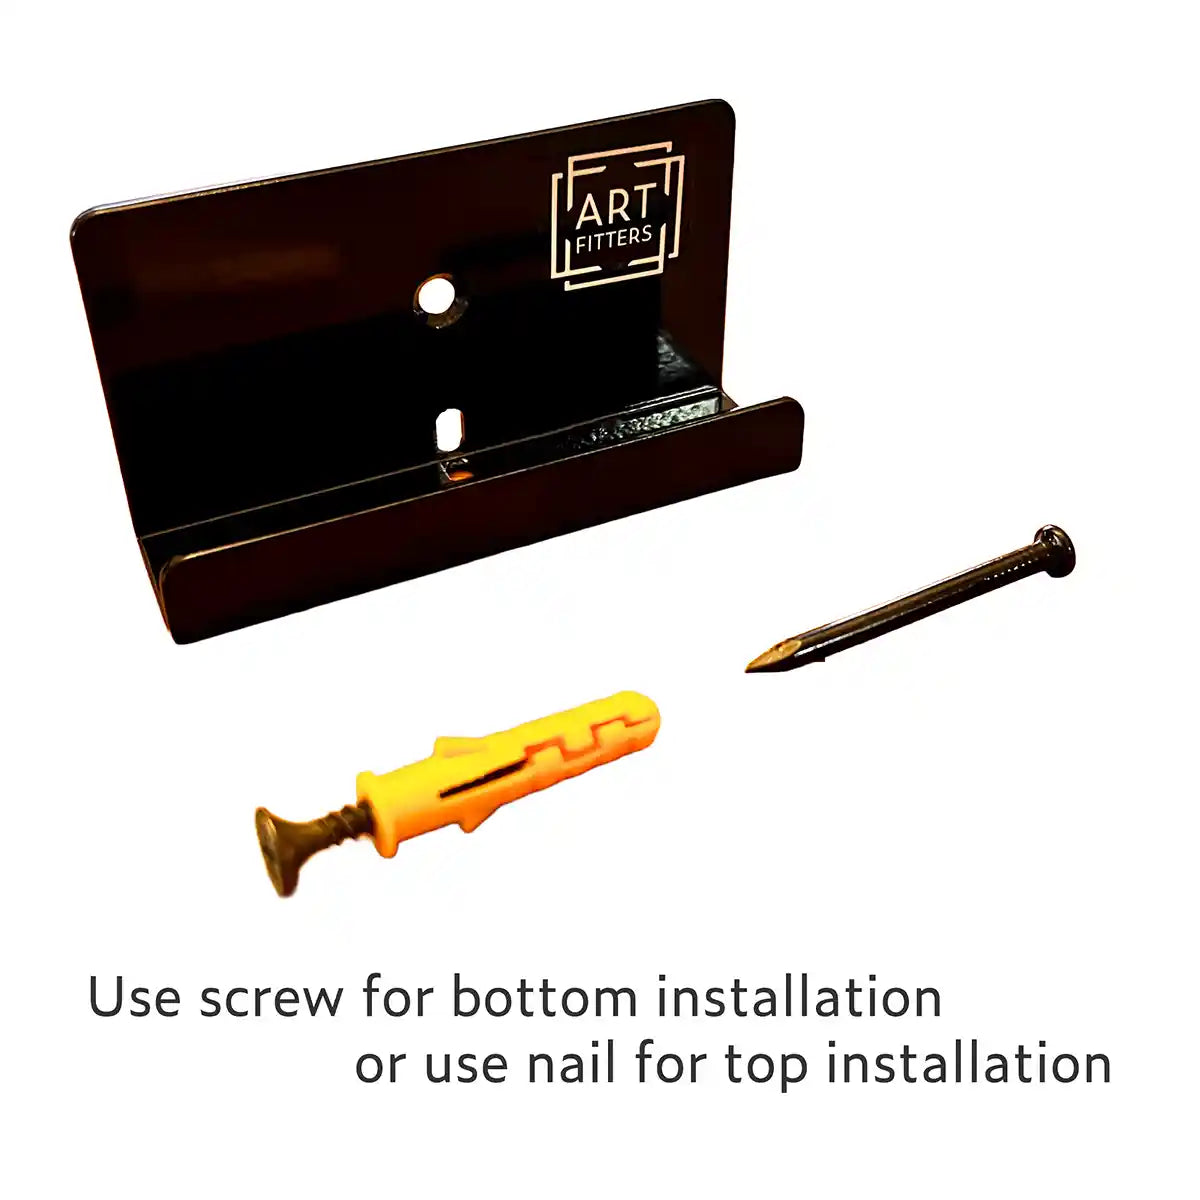
1. Position your bottom row of screen clips in the center of each fold. Use the double sided positioning tape on the back of the clips. Once they are level and straight, nail them into place.

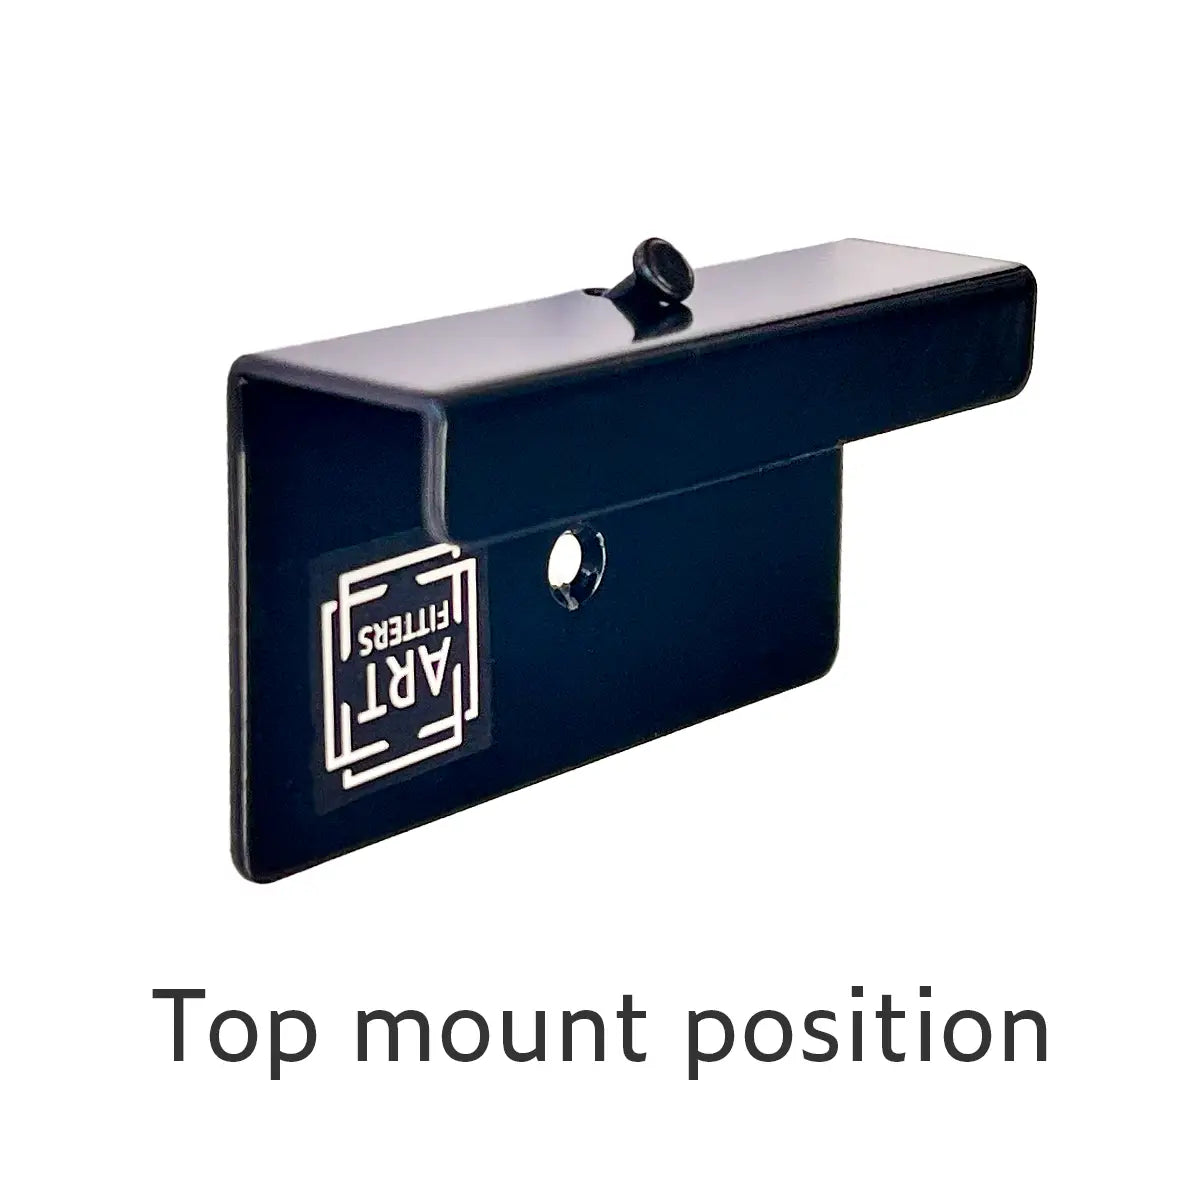
2. Place the screen in the channel created by the screen clips.Have someone hold the screen in place (place pressure along the folds where there are wooden supports beneath the paper/silk). Use a tissue or soft cloth to protect the surface from oils on your hands. Slide the top clip over the top edge, placed at each fold and nail into place.

3. Position the side clips, one at either end in the center of the screen height and nail it in place. The installation is complete!

Shipping

Shipping calculated in cart. Choose from your favorite carriers, shipping worldwide.

View full details
  • Satin Black Steel

    Great for screens that are

    • over 35 pounds
    • non-glossy finish

    - this version has the slimmest profile

  • Black Lucite

    Glossy black

  • Clear Lucite

    • non-black edges
    • painted or decorative lacquer edging
    • colored walls
  • STANDARD

    3/4 inch deep x 2.5 inches wide

    The channel depth is 3/4", suiting most traditional Japanese screens with lacquer edging.

  • WIDE

    3/4 inch deep x 5 inches wide

    Wide clips are great for extra support of tall (over 45") or oversized panels. They also provide more coverage of hinge-points for torn, damaged, or broken hinges.

  • LARGE

    1 inch deep x 5 inches wide

    Large screen clips are specially made for

    • thicker screens
    • damaged, warped, or uneven screens

    The large clip channel depth is 1 inch. The 5-inch width allows for greater support by distributing the weight across a larger area and allowing more forgiveness during installation.

  • Step 1

    Position your bottom row of screen clips in the center of each fold. Use the double sided positioning tape on the back of the clips. Once they are level and straight, nail them into place.

  • Step 2

    Place the screen in the channel created by the screen clips.Have someone hold the screen in place (place pressure along the folds where there are wooden supports beneath the paper/silk). Use a tissue or soft cloth to protect the surface from oils on your hands. Slide the top clip over the top edge, placed at each fold and nail into place.

  • Step 3

    Position the side clips, one at either end in the center of the screen height and nail it in place. The installation is complete!